Ceramic Tile Repair Services Overview
Visitors will learn about local contractors who provide ceramic tile repair services and how to compare options for their project needs.
- - Residential property owners seeking to repair or replace damaged ceramic tiles in kitchens, bathrooms, or entryways.
- - Commercial space managers needing professional ceramic tile repair services for high-traffic areas.
- - Property managers looking to connect with local contractors experienced in restoring tile surfaces on various property types.
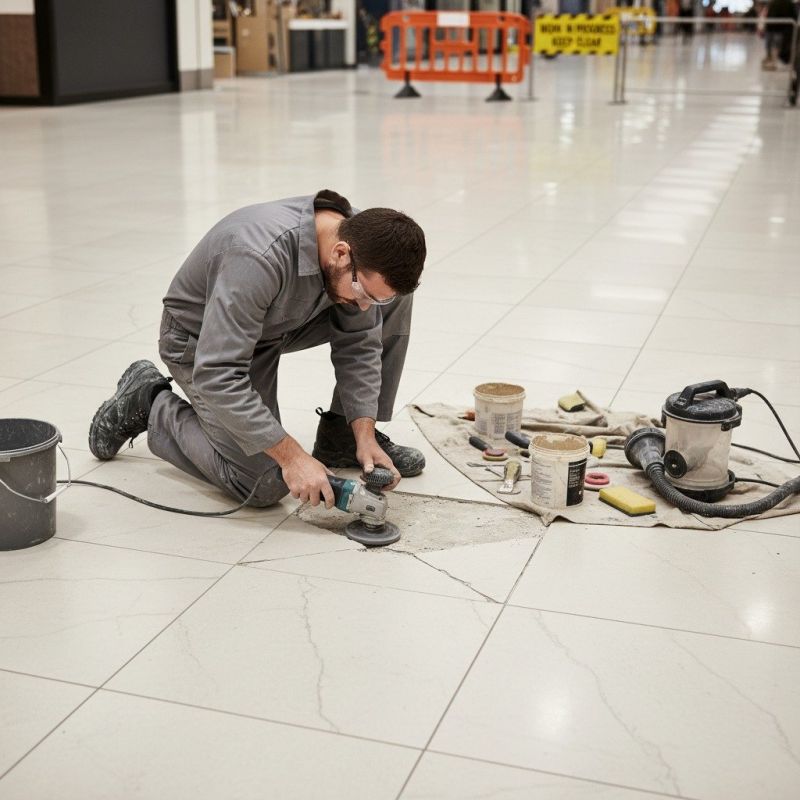
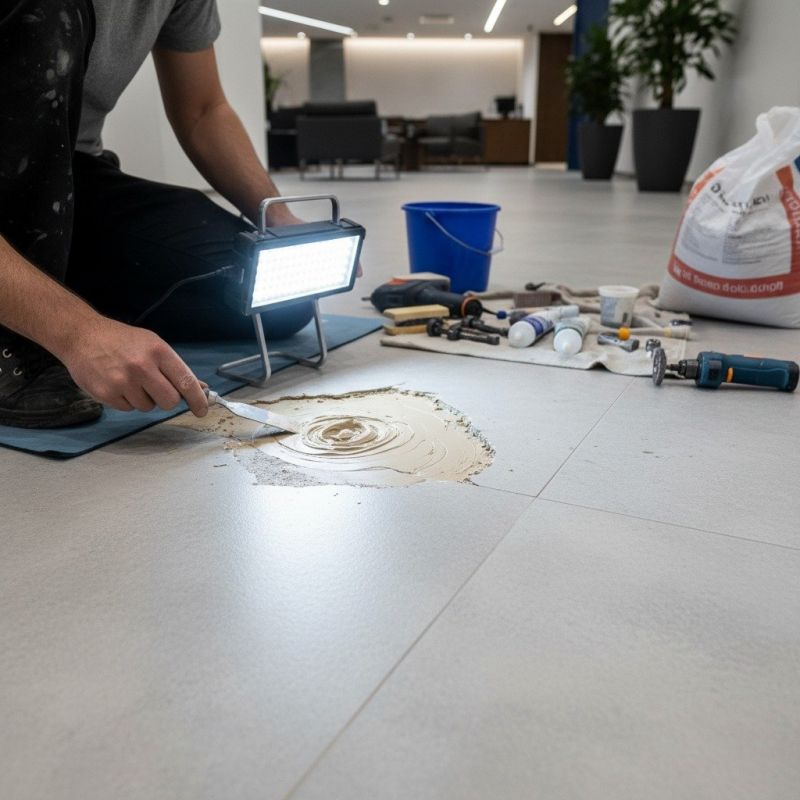
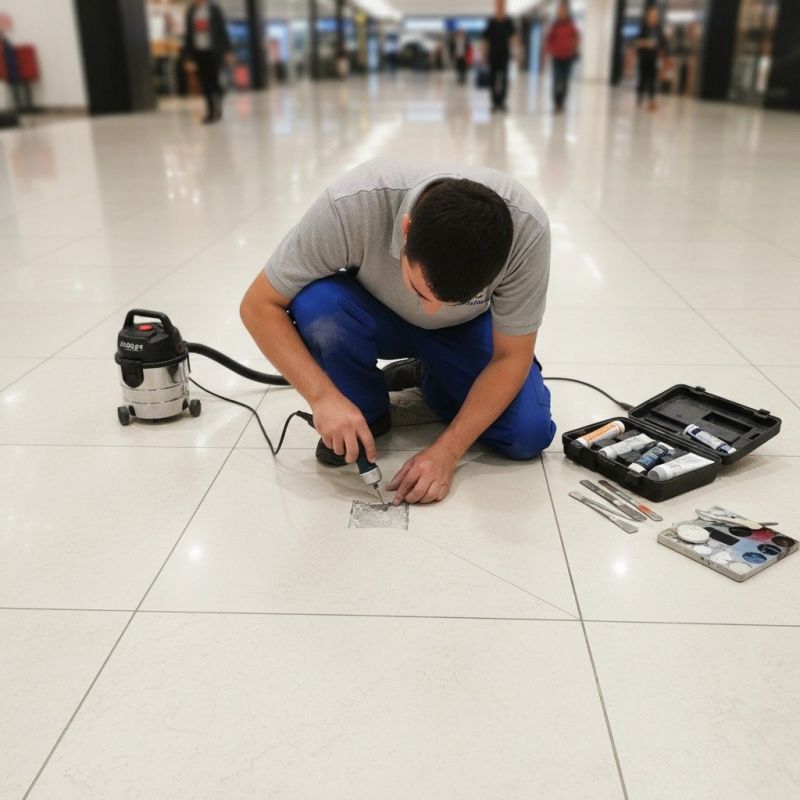
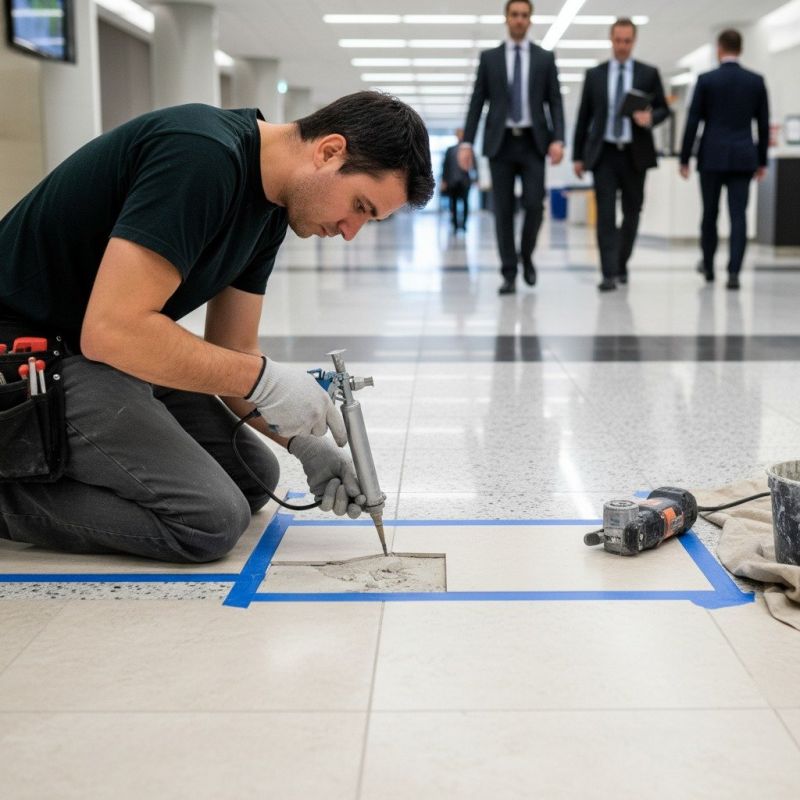
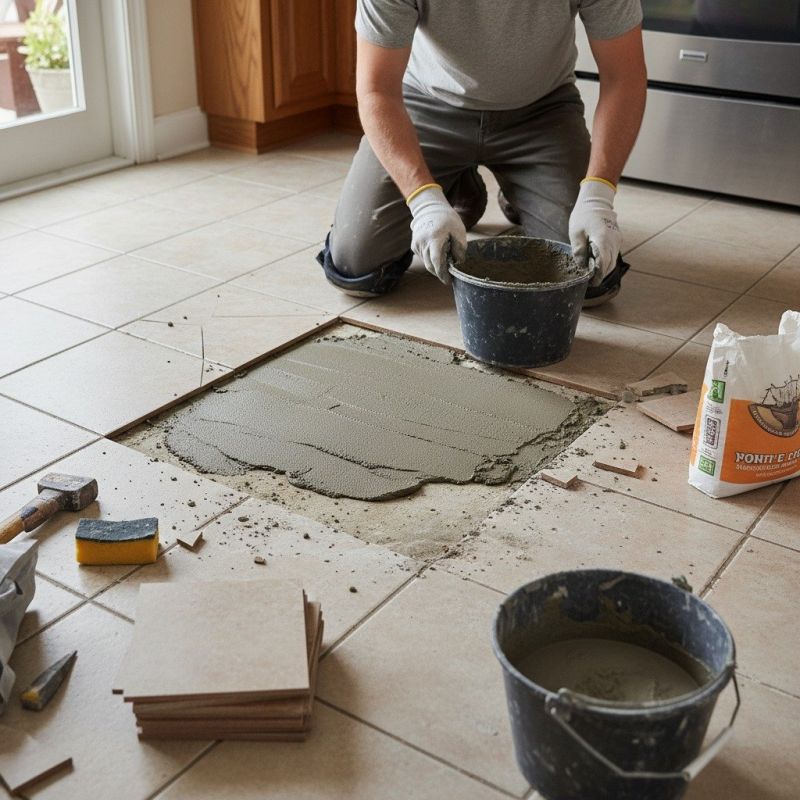
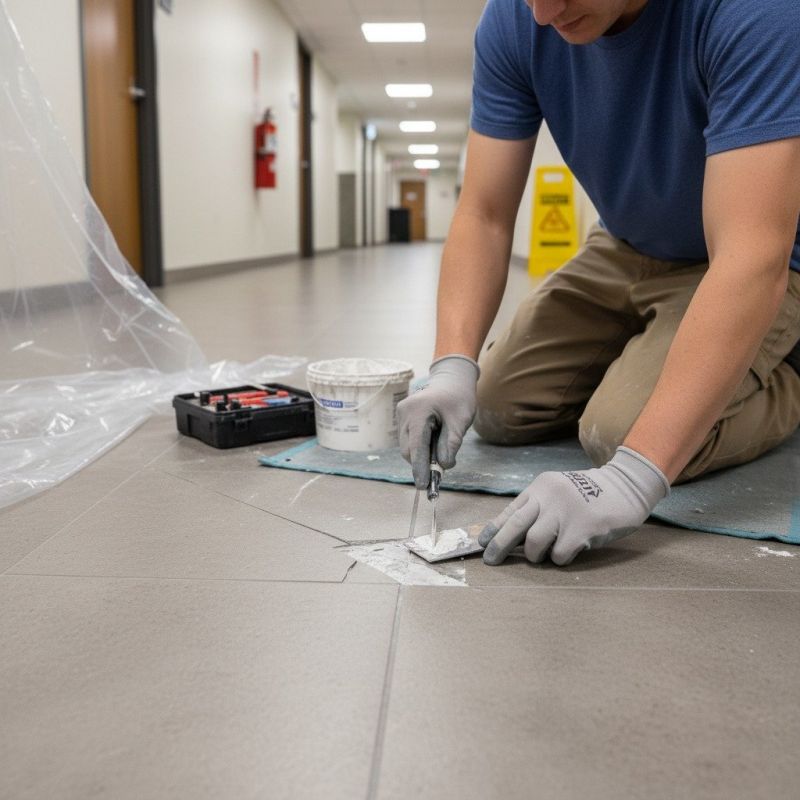
Ceramic tile repair services are essential for maintaining the appearance and functionality of tiled surfaces in homes and commercial spaces. When tiles become cracked, chipped, or loose, property owners often seek experienced local contractors who specialize in restoring the integrity of tiled areas. These professionals handle a variety of repair needs, including fixing damaged grout, replacing broken tiles, and ensuring that the repaired surface blends seamlessly with the surrounding area. Whether addressing issues in kitchens, bathrooms, or flooring, local service providers can assess the condition of existing tilework and recommend appropriate solutions to restore its original look and durability.
Connecting with local pros who focus on ceramic tile repair provides property owners with access to skilled contractors familiar with common tile issues and repair techniques. These service providers typically work with a range of tile types and installation styles, offering practical solutions for both minor touch-ups and more extensive repairs. By choosing local experts, property owners can find the right professionals to handle their specific tile repair needs efficiently and effectively, helping to preserve the value and appearance of their spaces.
This guide provides helpful information to understand the process of ceramic tile repair and what to consider when choosing a service provider. It assists in comparing local contractors to find the right fit for your project. The goal is to help you gather the basics needed to connect with qualified local pros for your ceramic tile repair needs.